Adding firmware and powering and using
Get an SD card
Your facilitator will give you a stemclub firmware card. Put the SD card into the Pi

Add Power to the Pi
Your Pi can be powered from a wall wart or from a powerbank.
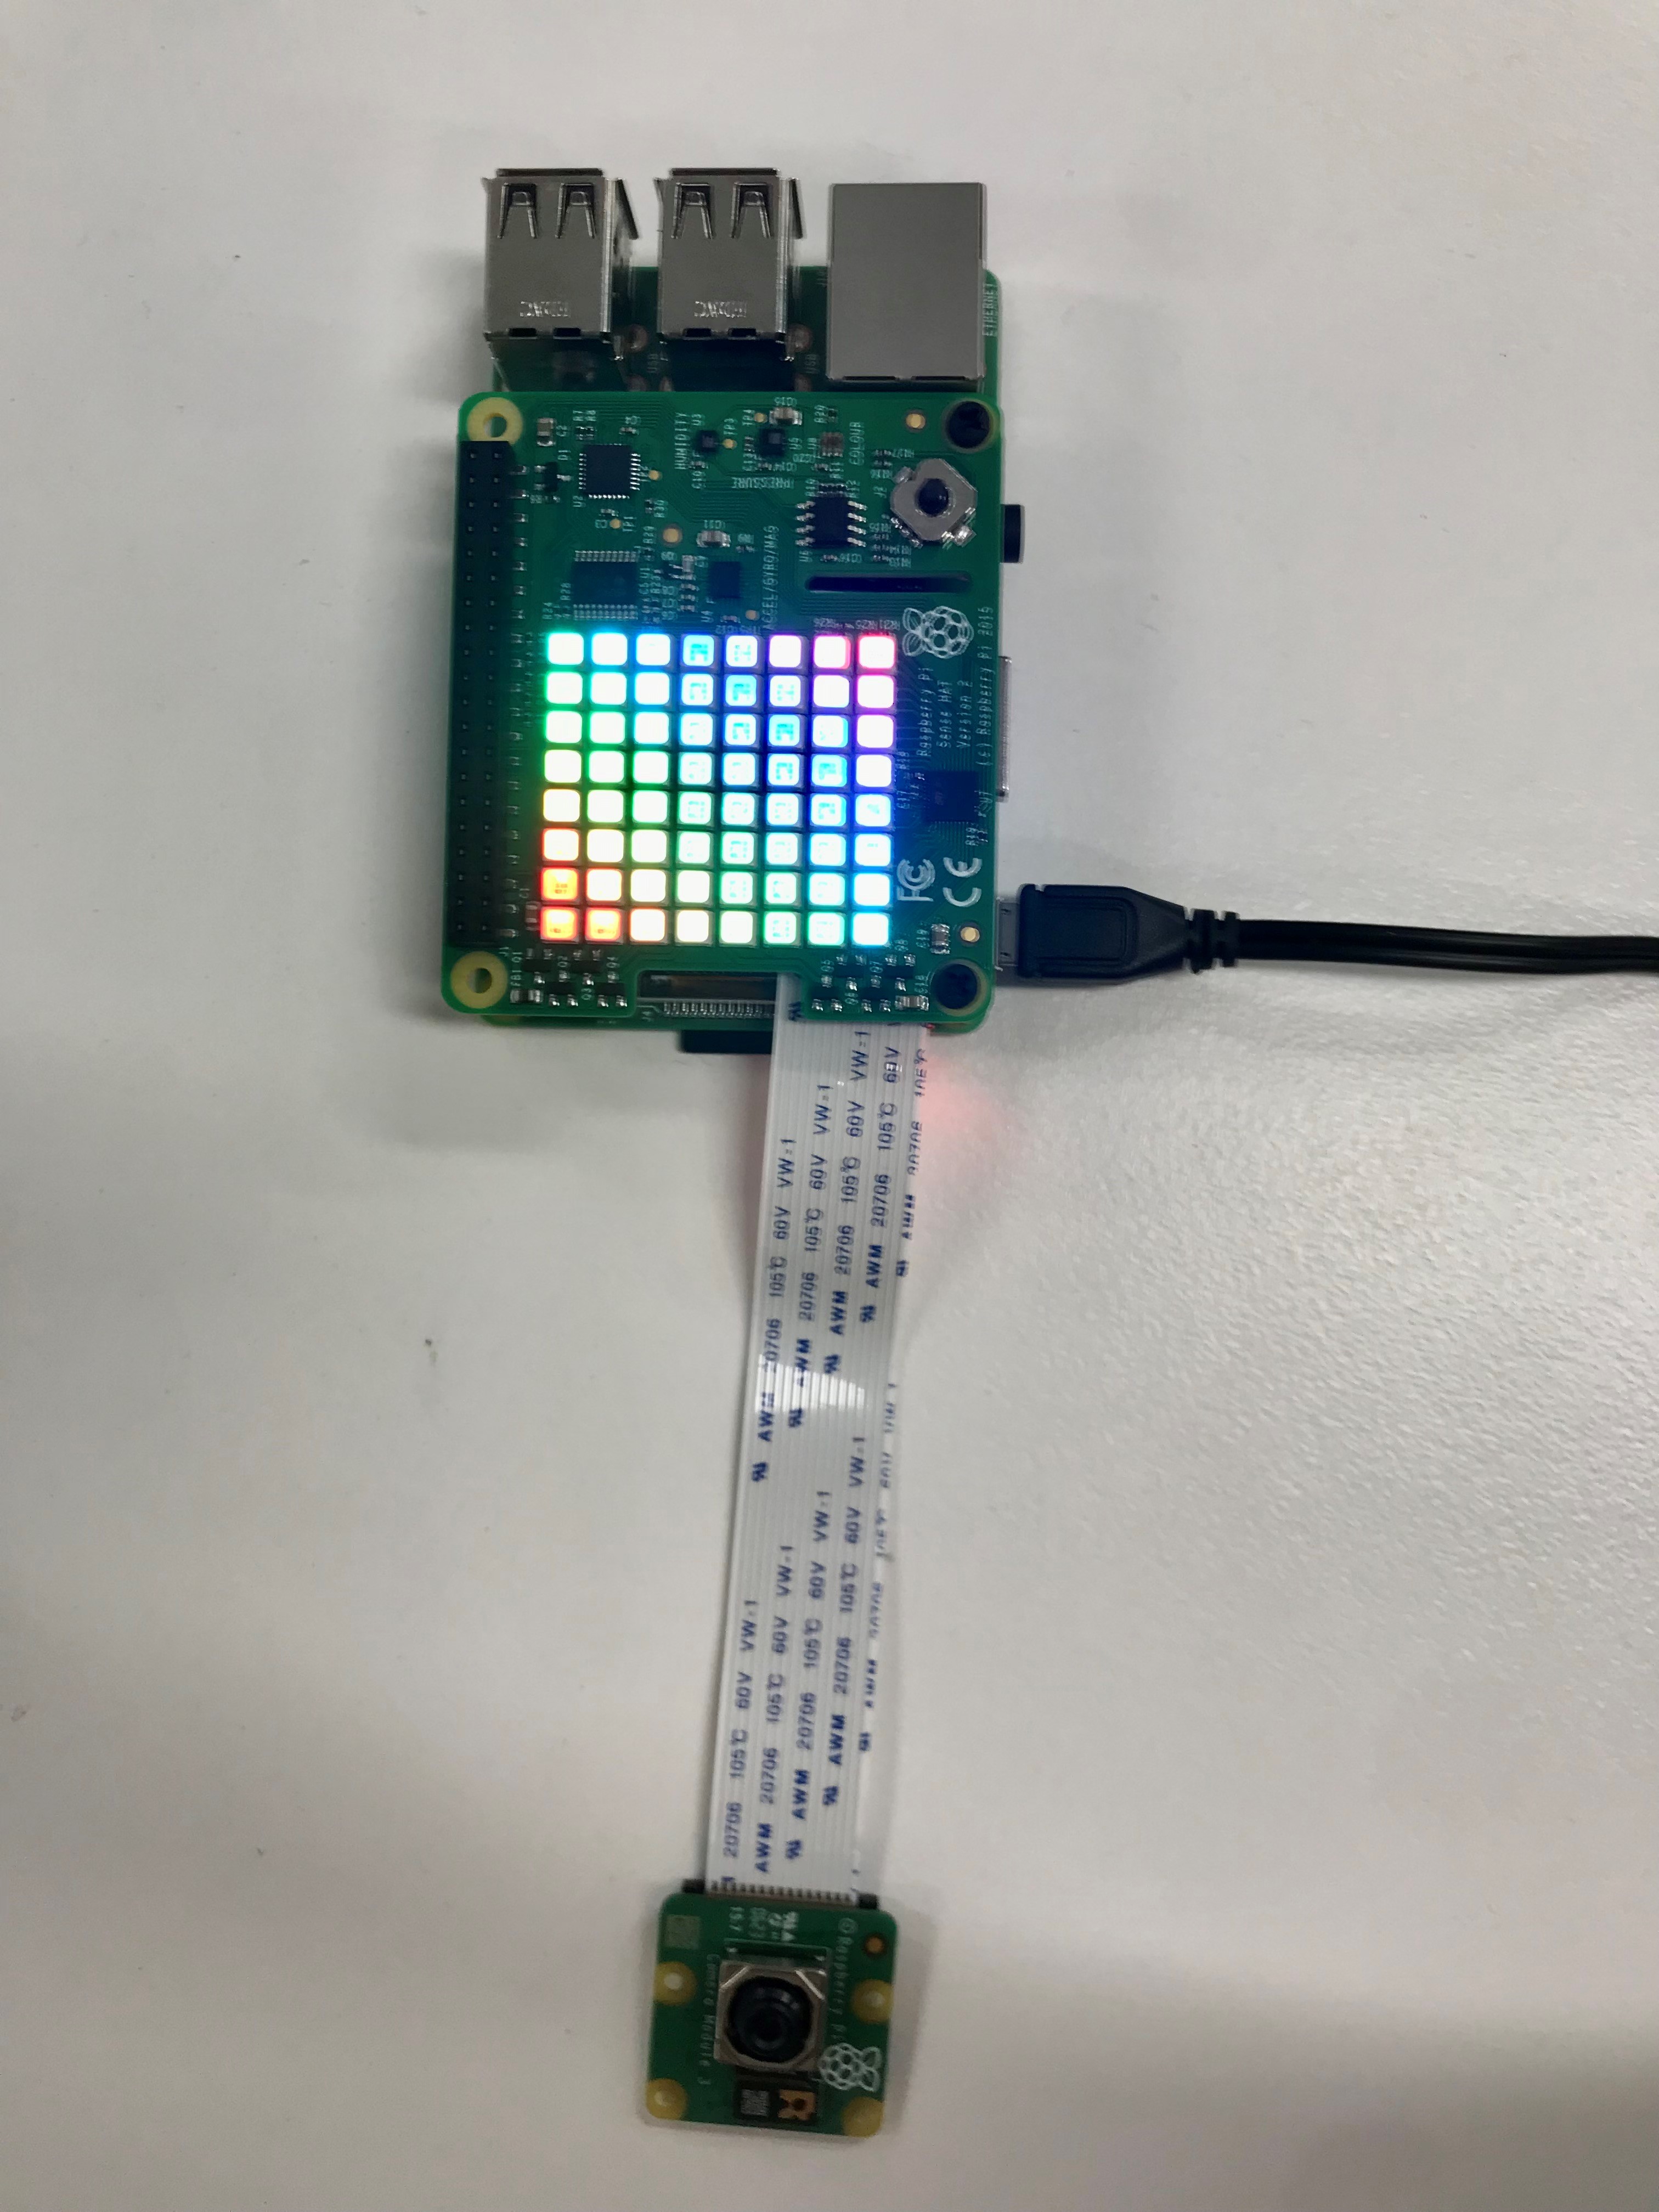
The rainbow of success
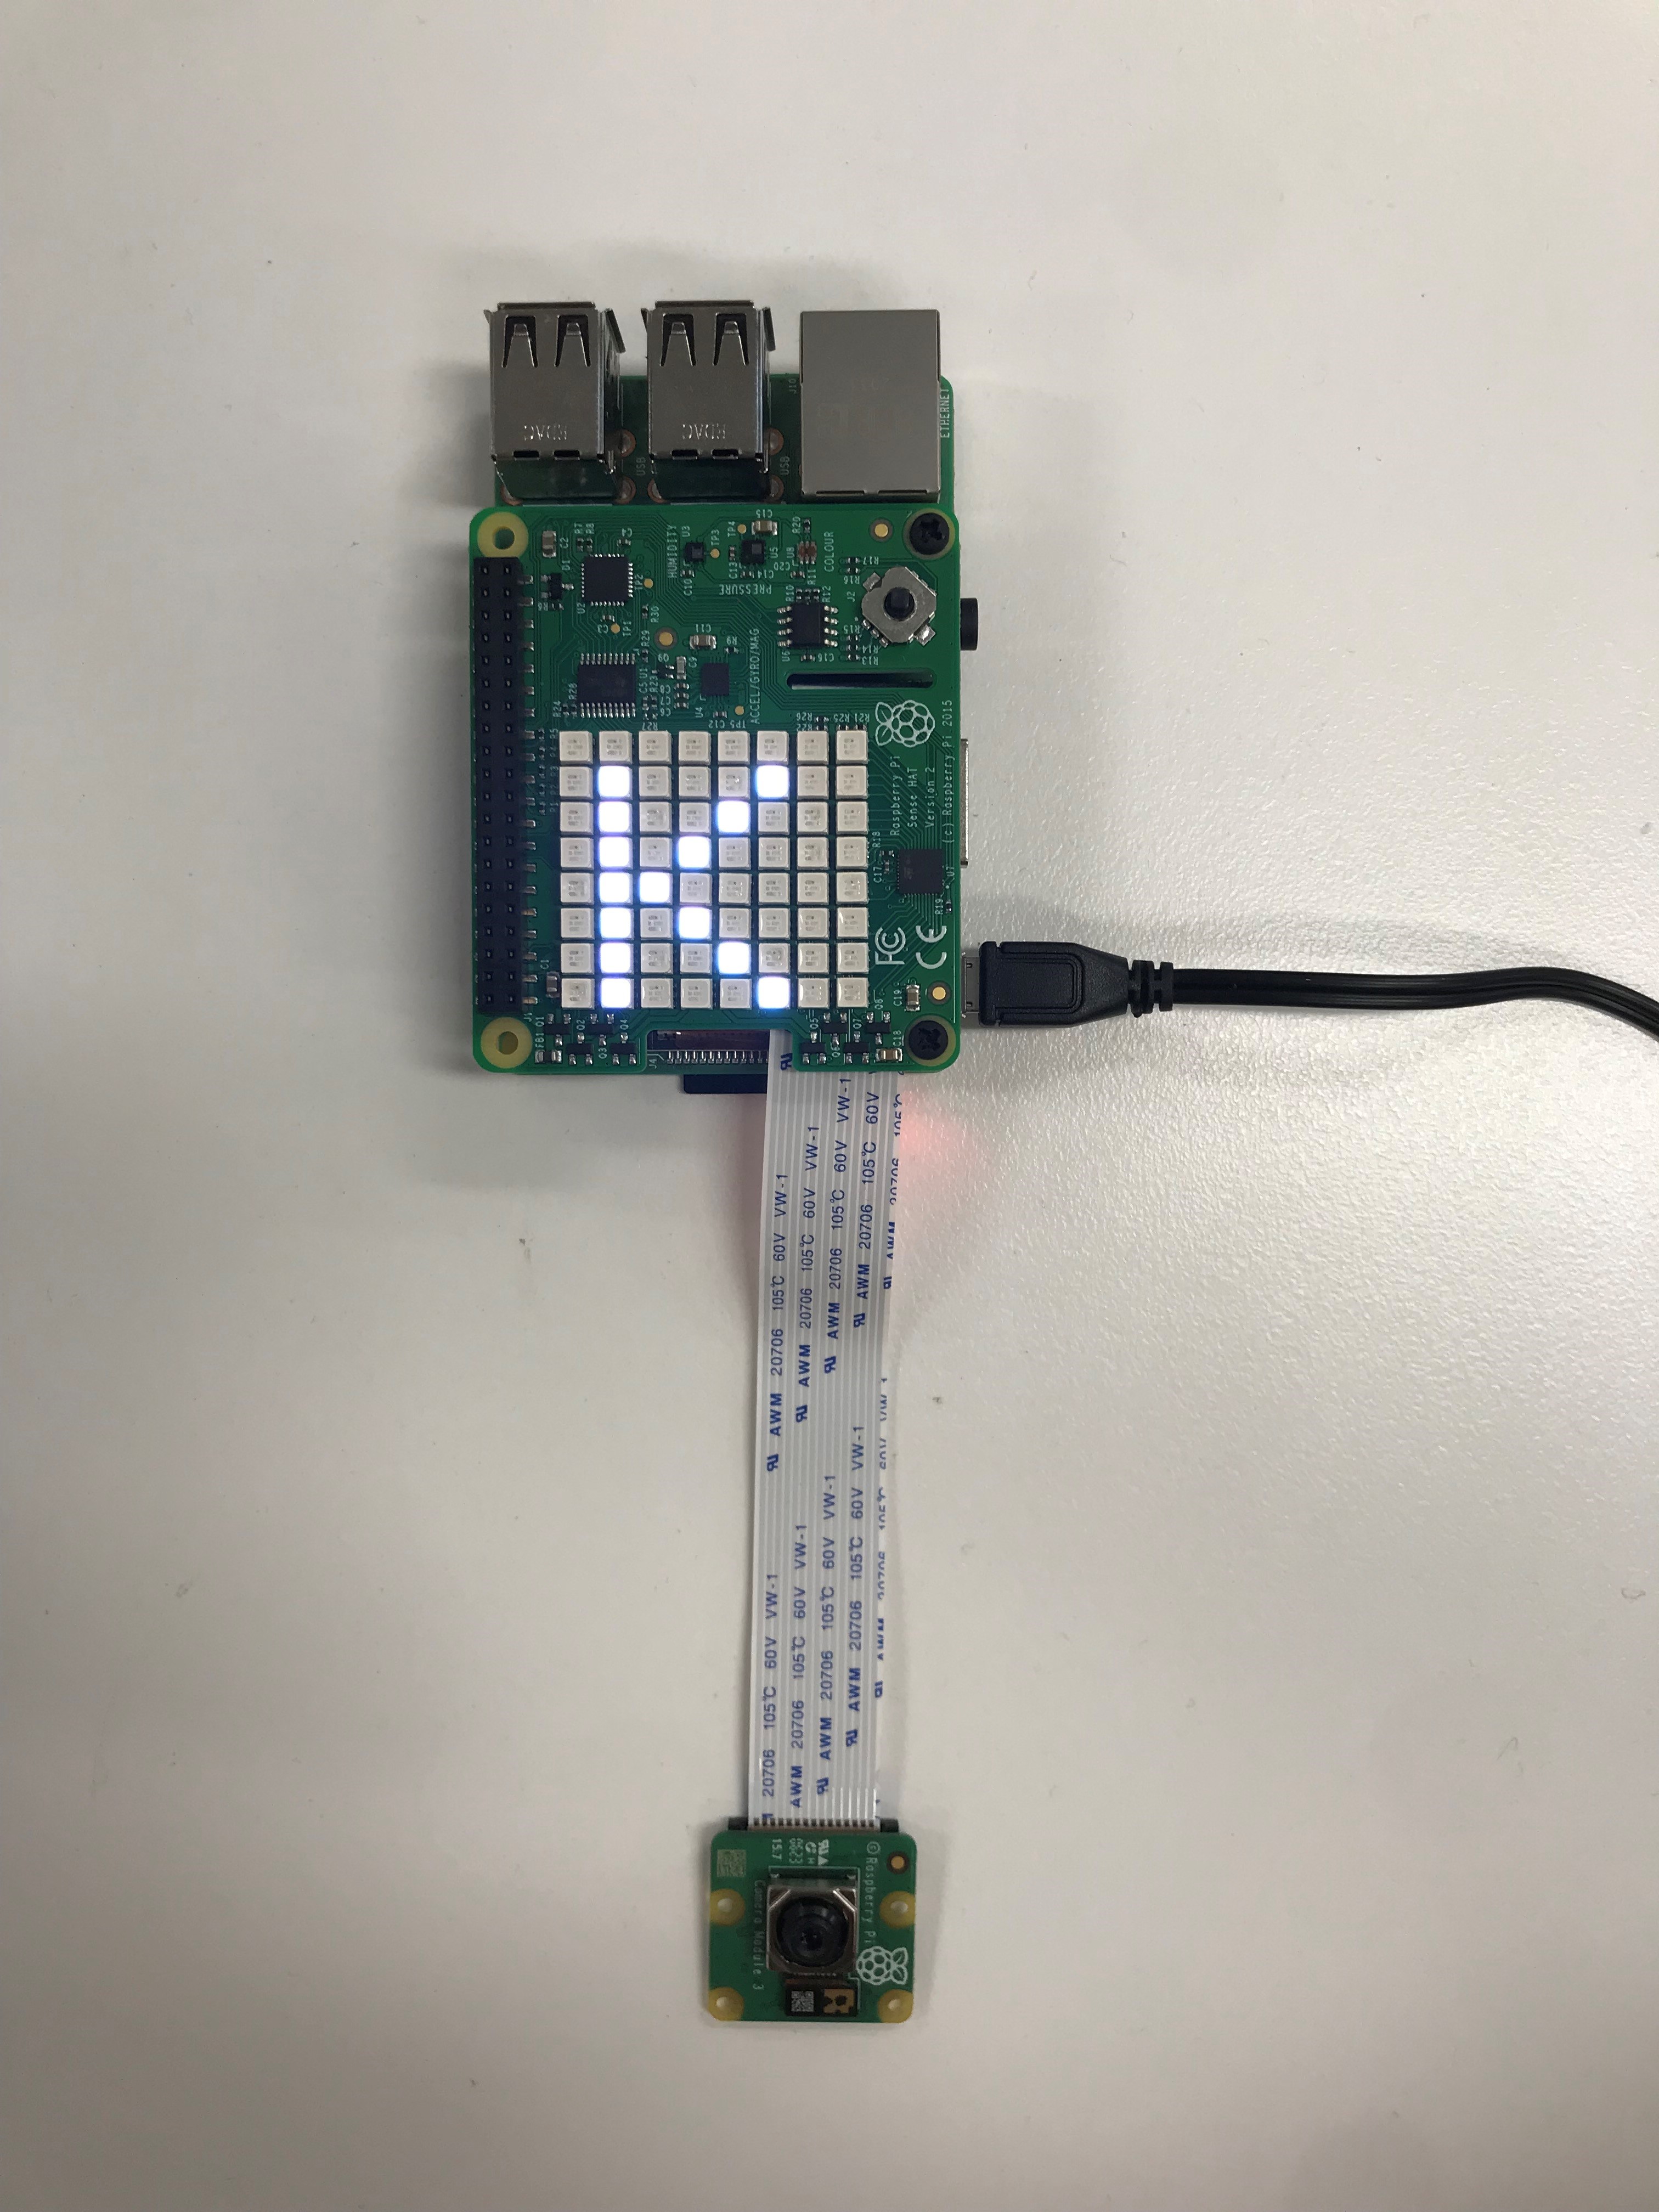
Once the pi is connected to the power bank, the SenseHat will display a rainbow screen while it boots. The SenseHat will then go blank before displaying the letter ‘H’. Congratulations, your Pi is working
Controlling from the SenseHat
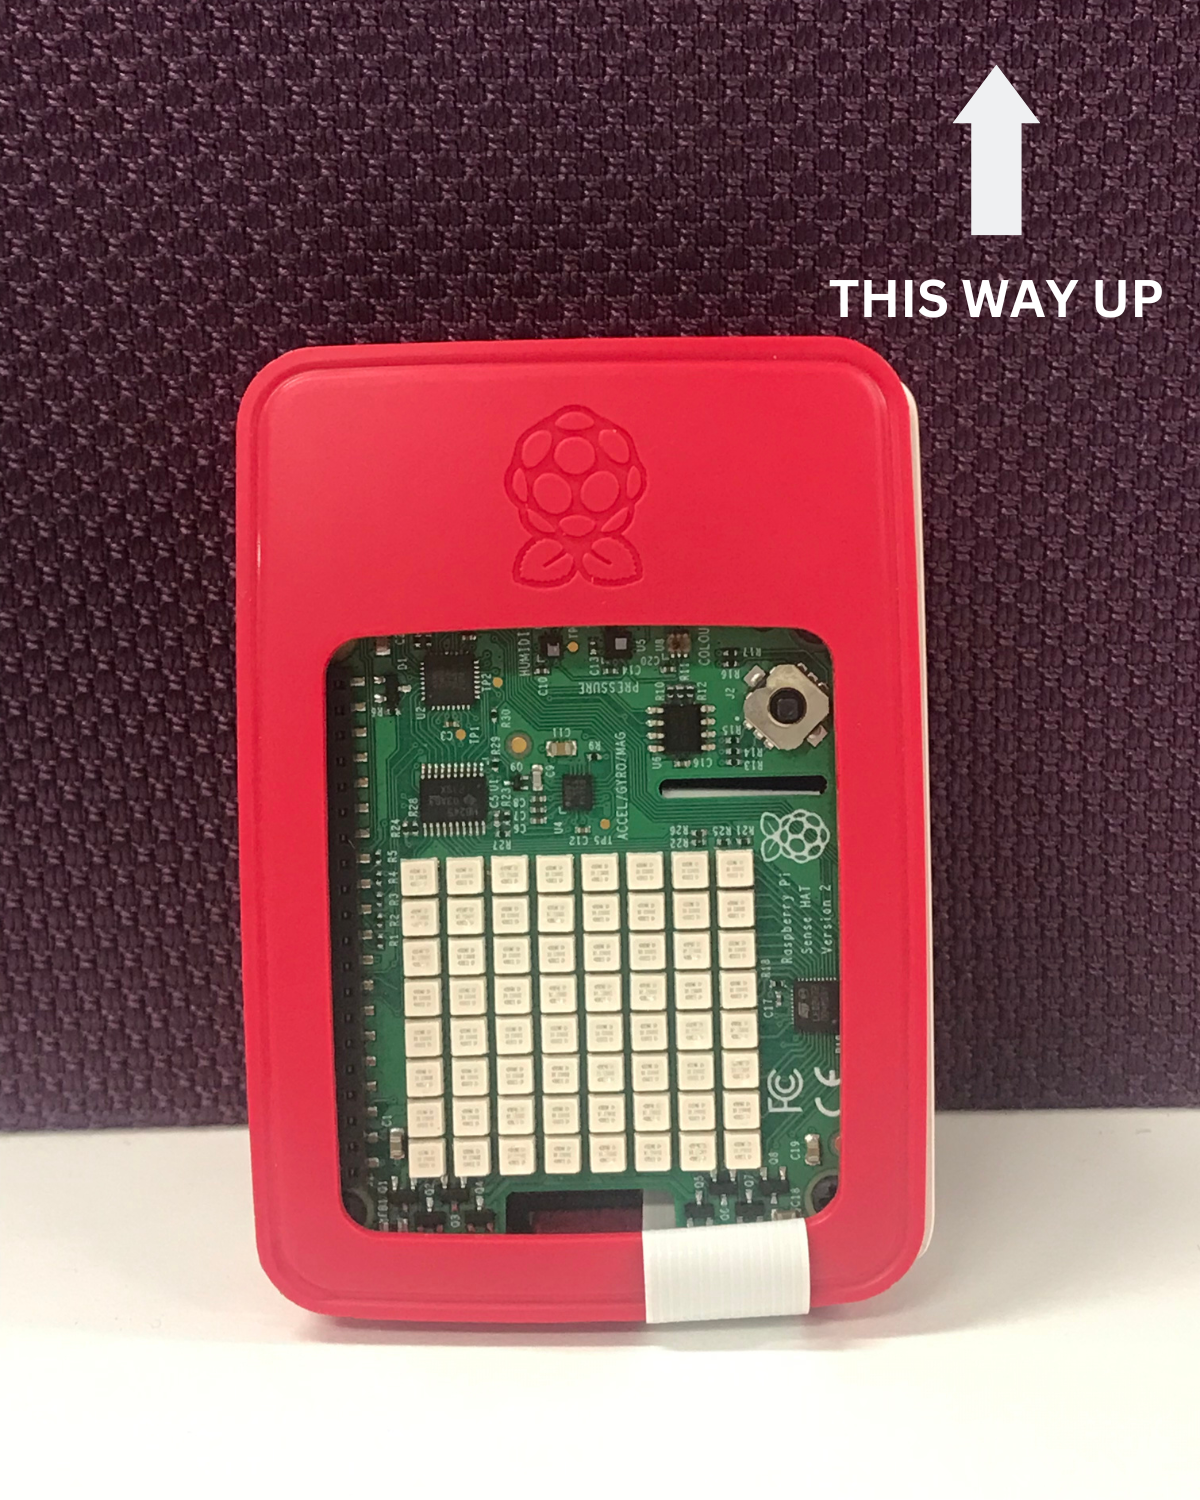
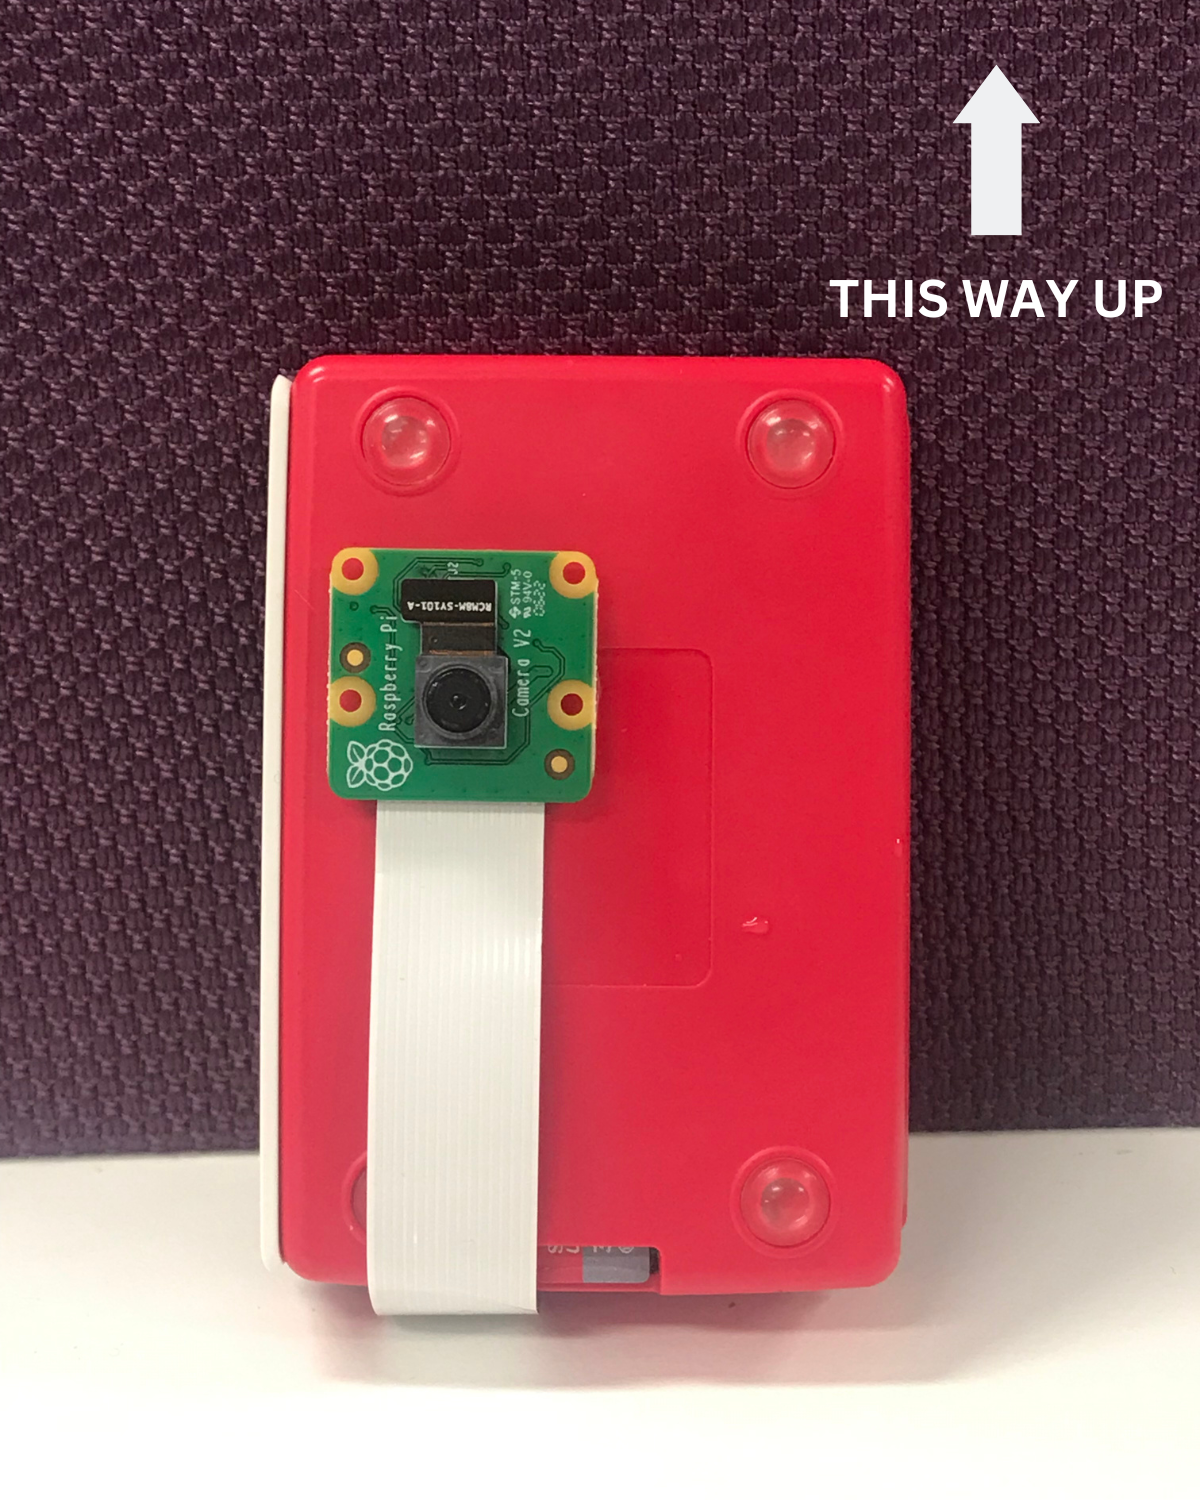
how to hold
The Pi Operates in “portrait mode” with the leds towards the bottom
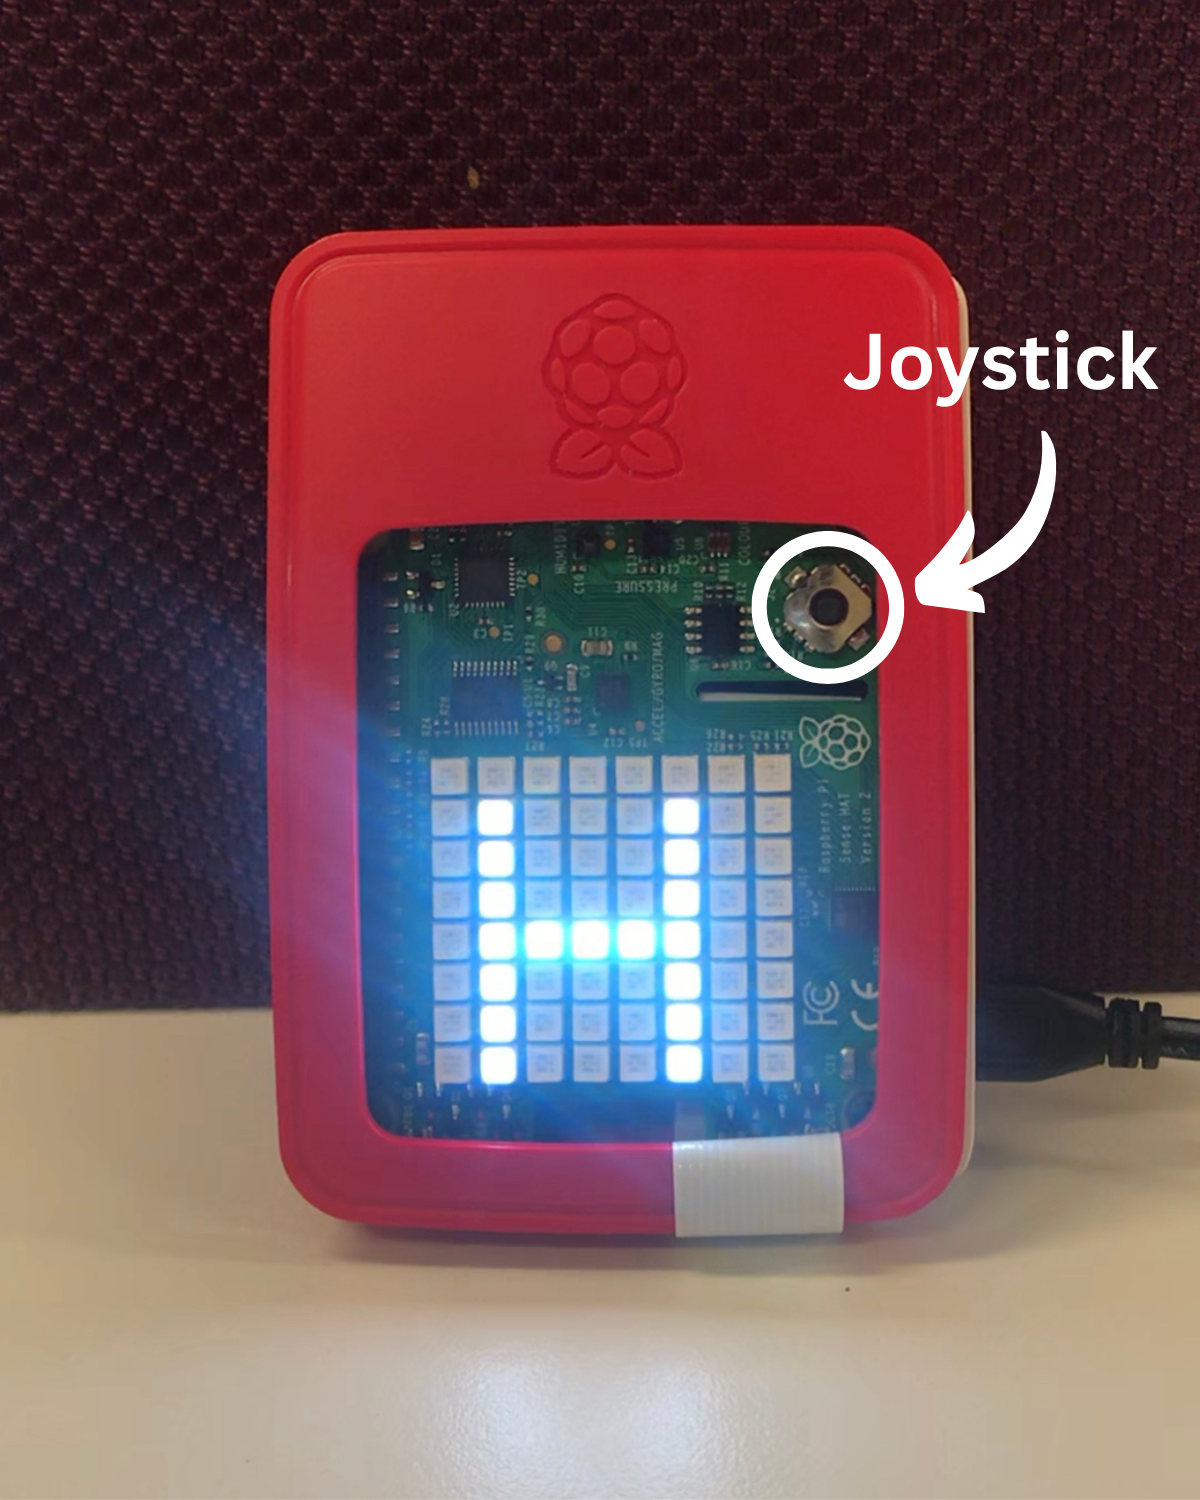
up and down, click in and click out
The tiny “joystick” towards the right of the sense hat is how you control the Pi.
- Up and down will move between commands
- Push in will execute command or exit command (if one is running)
- Up will take a picture in happy snap mode
Happy Snaps
Start the camera mode (which is called “Happy Snaps”) by pressing the moving up or down until you see the “H”, then clicking in on the joystick.
The sense hat will display a very low resolution preview of the camera view - try it out to convince yourself.
Pressing up on the joystick will capture an image just like hitting the shutter button on a camera. You can’t see it, but it is stored in the pi somewhere!
How long does your Pi last on the powerbank
Grab a powerbank, look on it to see how many milliamps it is. Plug in your pi, start the happy snap command and wait. Start a timer and see how long the Pi runs for. Minutes? Hours? Days? I suggest you put it somewhere you can keep an eye on it.
In your lab book, note the time you got for your powerbank and the number of milliamps in your powerbank (I hope it was full when you started).
reference list of commands
- H: Happy snaps - shows a low-res preview and pressing up will capture a picture
- S: Stream the video on the network
- D: Show how much disk space is left
- N: Show network details
- R: Make up a new network name (caution!)
- B: Switch to base mode (caution!)
- F: Switch to field mode (caution!)
- T: Capture training data
- K: Sync data (not implemented yet)
- M: AI models you can run. Once you click in here you will get a menu of lowercase letters, each is an AI model you can run.